


第一步 於外掛功能中,關鍵字輸入Ad Inserter找到Ad Inserter,目前版本為2.7.1,如上圖所示。
第二步 按下立即安裝。

第三步 按下啟用(Activate)
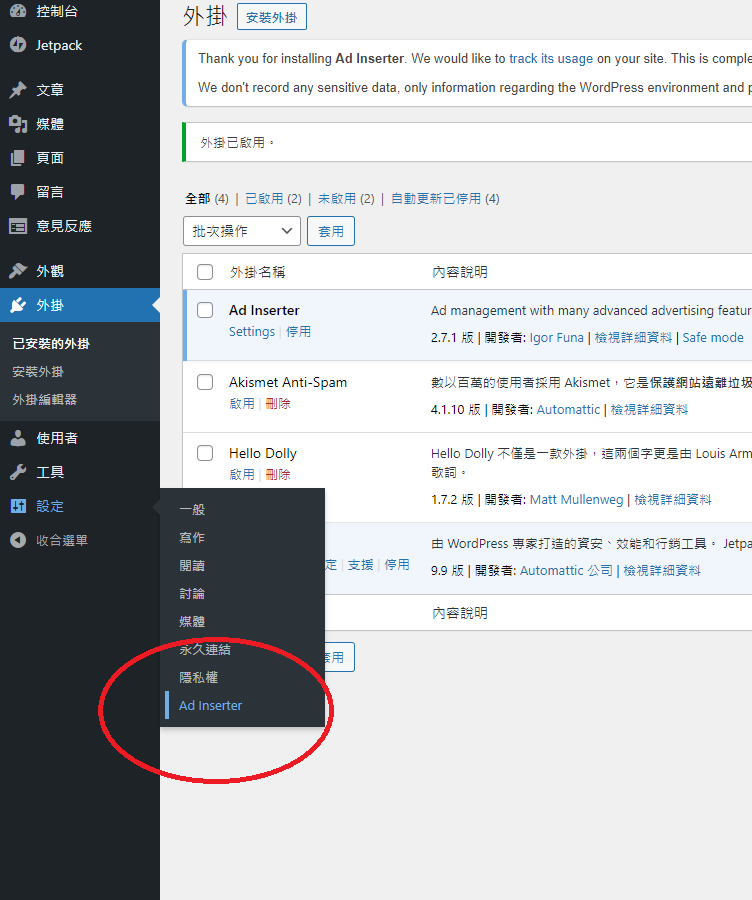
第四步 到設定,點選Ad Inserter。
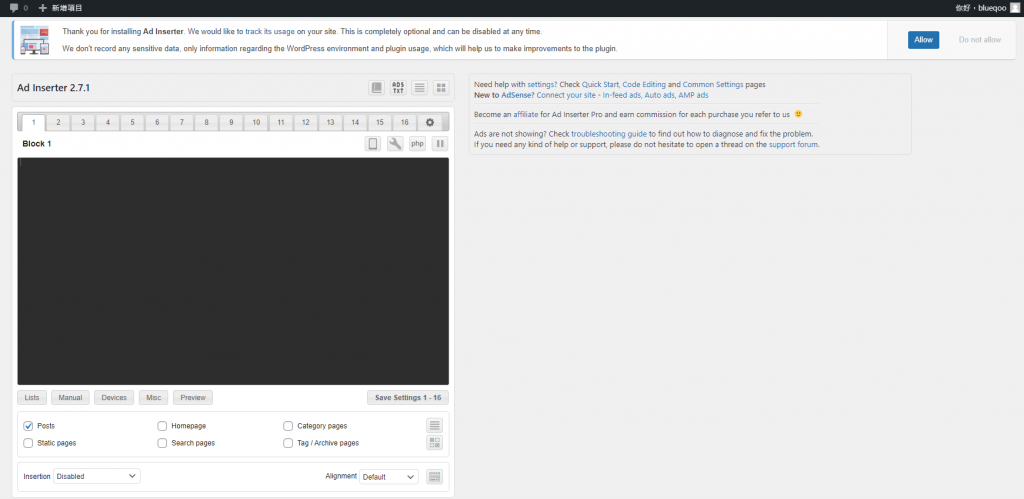
第五步 在Ad Insert的設定頁面
最上方可以看到一串英文字
Thank you for installing Ad Inserter.
We would like to track its usage on your site.
This is completely optional and can be disabled at any time.
We don’t record any sensitive data, only information regarding the WordPress environment and plugin usage, which will help us to make improvements to the plugin.
內容大概是
感謝您安裝Ad Inserter
我們想追蹤它在您網頁上的使用情況。
這是選擇性的,隨時都可以關閉。
我們不記錄任何敏感數據,只記錄有關WordPress環境和外掛的使用訊息,
這將有助於我們改進這個外掛。
所以這邊你可以選擇允許(Allow) 或是 不允許(Do not allow)。
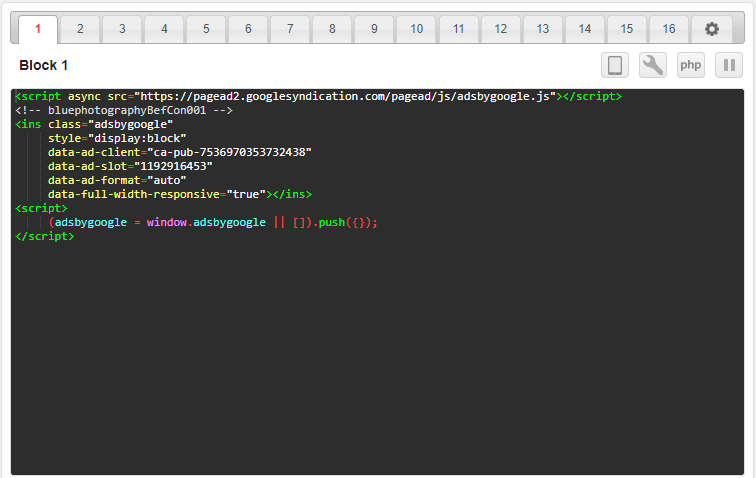
第六步 接著看到Block1,這邊是可以插入廣告程式碼的地方。
第七步 從Google Adsense取得廣告程式碼。關於Google Adsense廣告程式碼請參閱
<script async src="https://pagead2.googlesyndication.com/pagead/js/adsbygoogle.js"></script>
<!-- bluephotographyBefCon001 -->
<ins class="adsbygoogle"
     style="display:block"
     data-ad-client="ca-pub-7536970353732438"
     data-ad-slot="1192916453"
     data-ad-format="auto"
     data-full-width-responsive="true"></ins>
<script>
     (adsbygoogle = window.adsbygoogle || []).push({});
</script>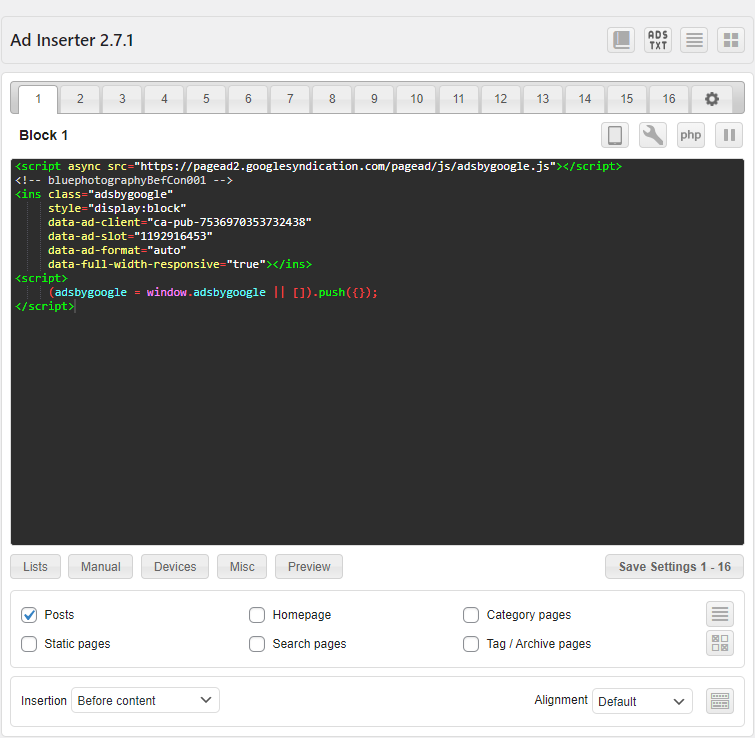
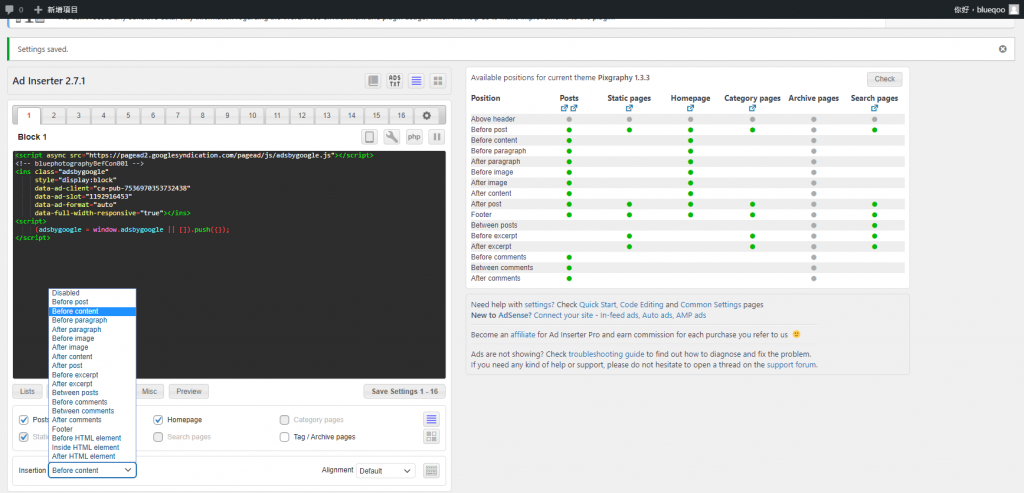
第八步 於Block1貼上取得的廣告程式碼。
第九步 Insertion選擇Before content。
第十步 按下Save Settings 1-16存檔。
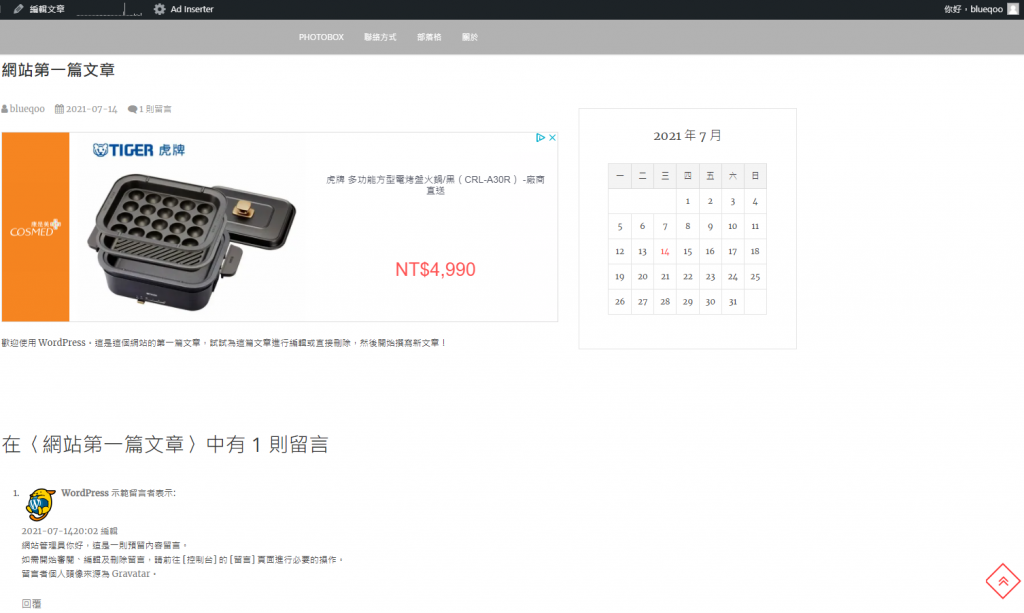
第十一步 馬上到網頁的貼文去看!!!大功告成,廣告已經出現在畫面上了!!恭喜恭喜!!!
畫面功能解析
1.總共有1-16個區塊可以放置廣告程式碼。
2.在那些網頁中呈現廣告,Posts文章,Homepage首頁,Category pages部落格,Static pages靜態網頁,Search pages搜尋結果等等。

3.在網頁中的那些區塊呈現廣告。
Insertion為設定此Block廣告呈現在哪個區塊。
右方很多綠色點點的是檢查各個網頁中有哪些區塊可以插入廣告,按下Check,會自動偵測。(真的很利害耶!!)
Comments